Sapphire
Welcome back! This is week four and this project is called Sapphire. This was an experimental self-portrait project that I have had in mind for awhile. I planned this project out for a couple weeks and finally got to create it. There was no meaning or much inspiration for this project, just a little experiment of mine. But, I’d say this invigorating experiment was a success for me and I couldn’t be more fulfilled with the outcome.
Kaila Hicks, Sapphire, 2021
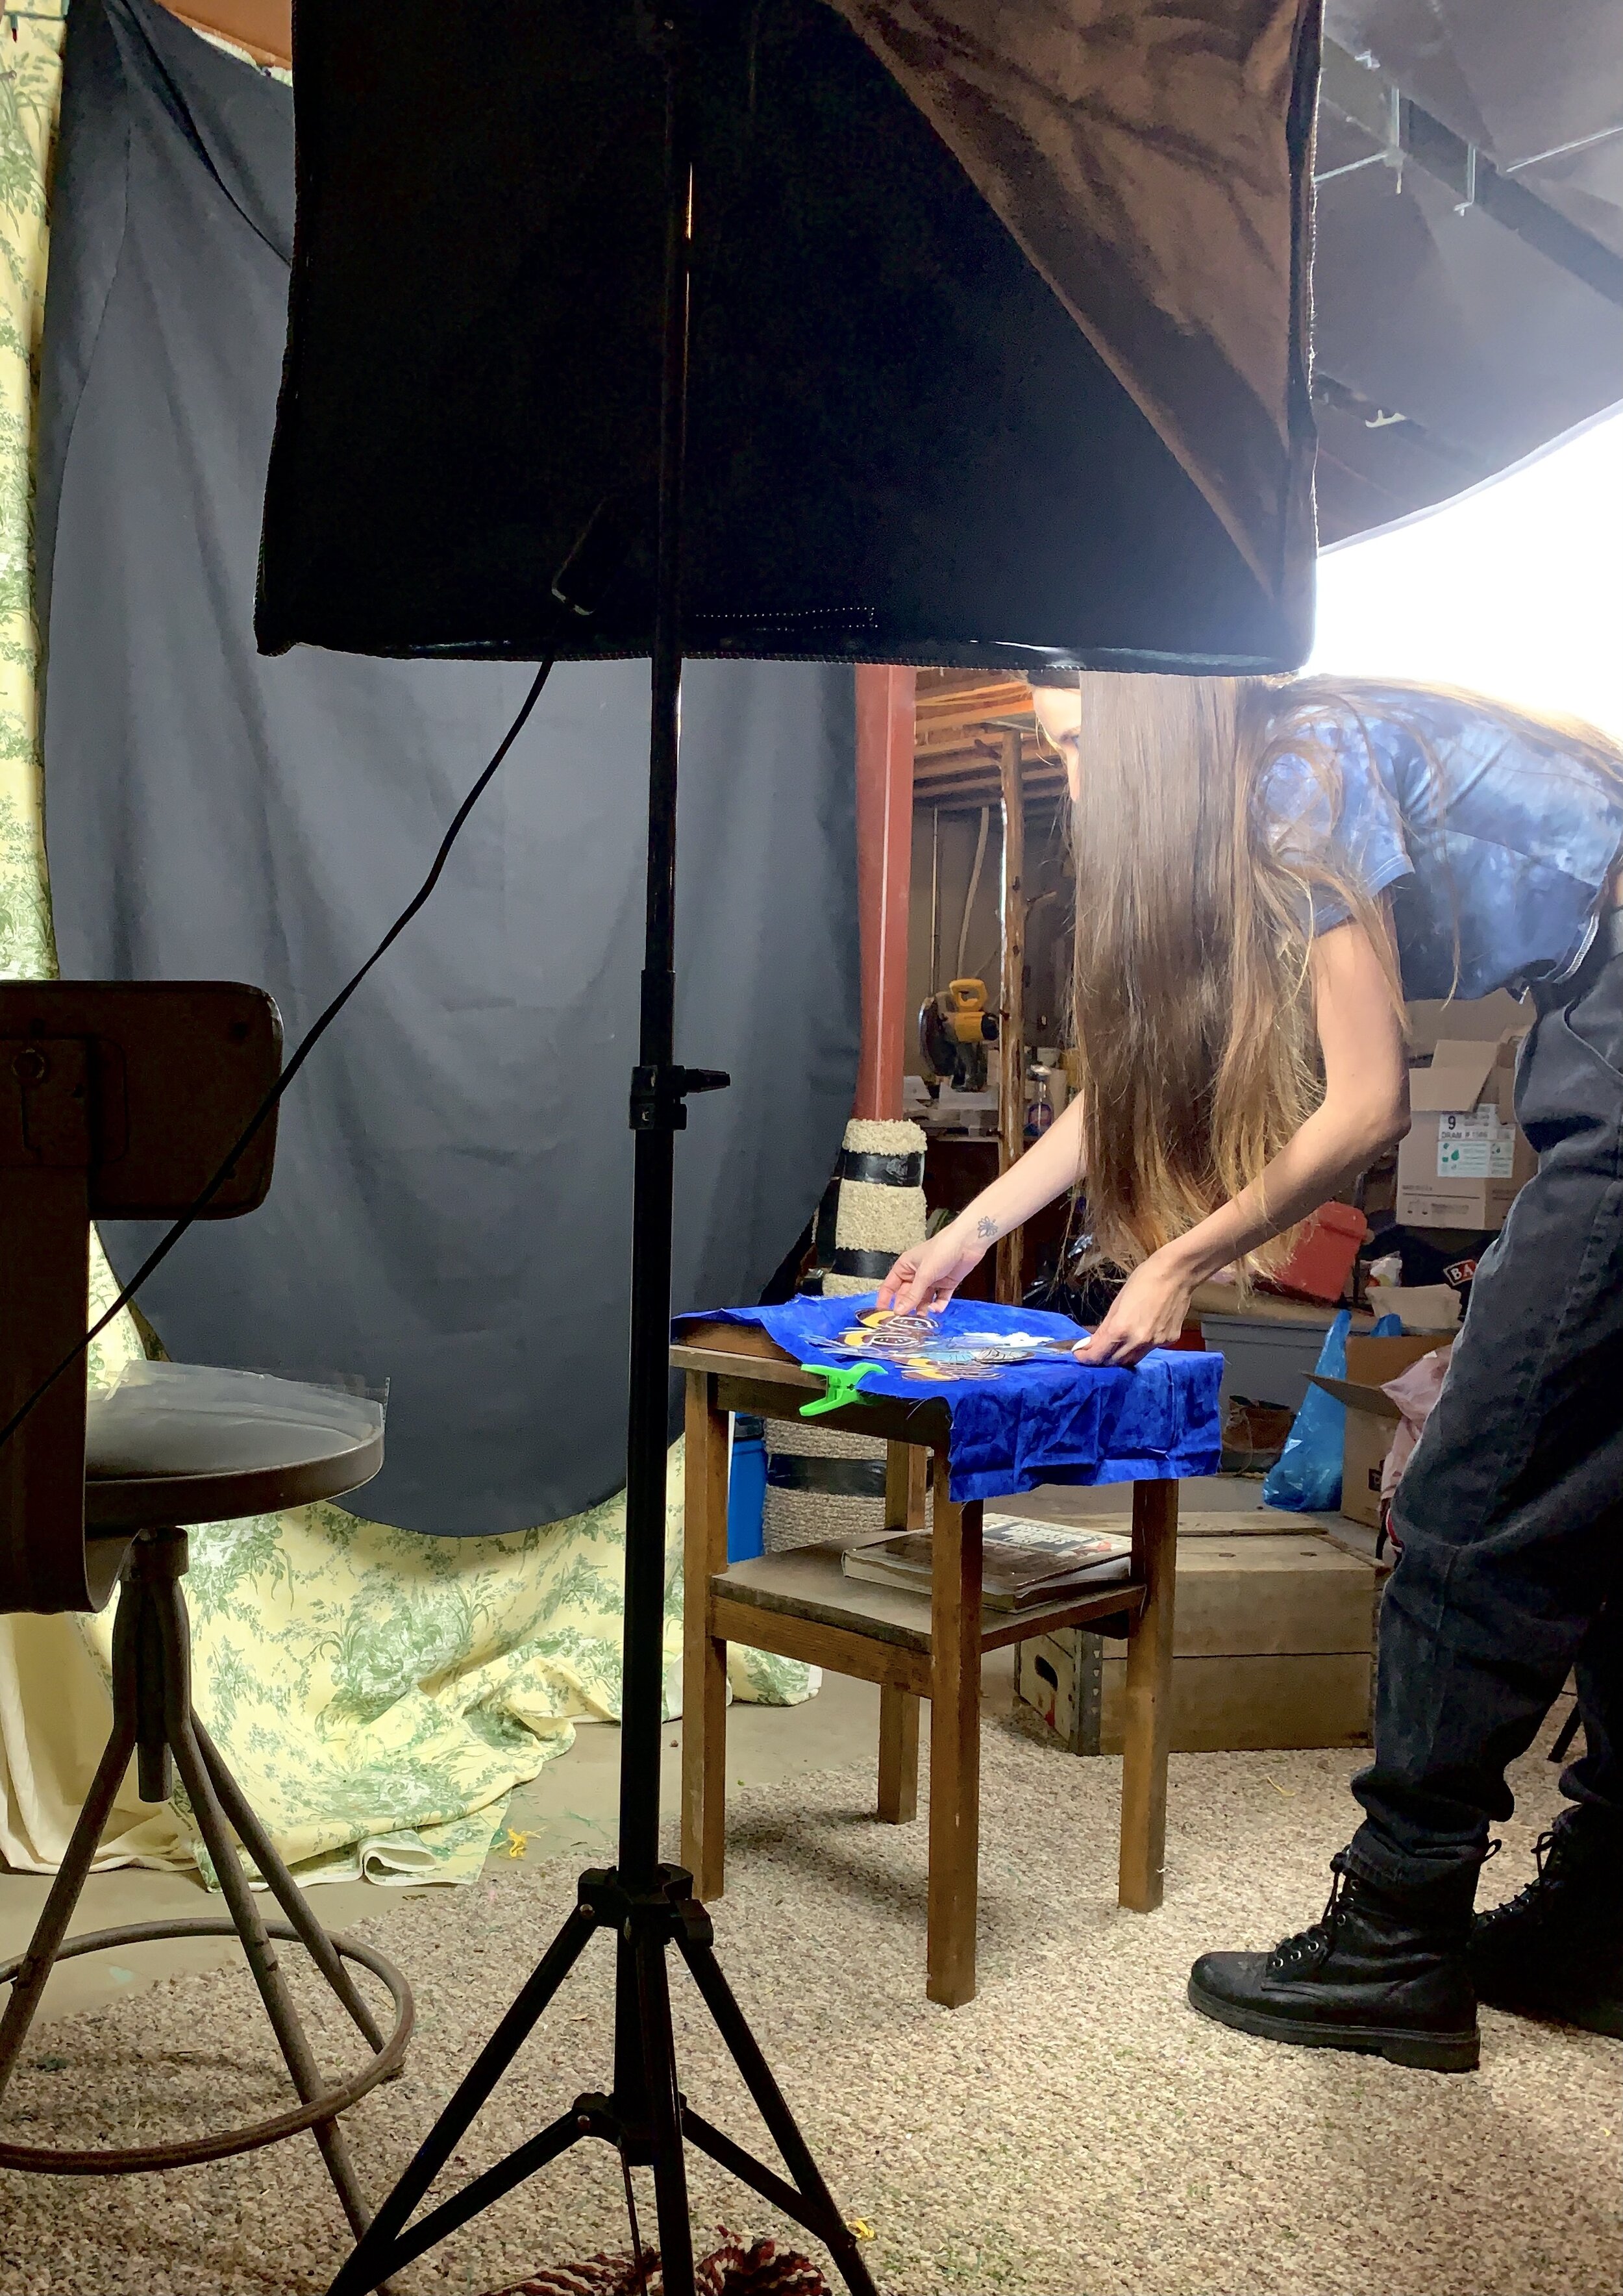
THE SET-UP

This is the set-up to take the self-portrait portion of this project. I initially started out with both of my studio lights, but ended up turning the left one off. I did this because I was also using my RGB LED light like I used in the Peculiar Things project. I used it to create a blue tint to the photograph while the studio light on the right was providing warmer light for contrast.
It’s hard to see in the picture, but the LED light is attached on top of my camera. It was a challenge to get the right angle of not only the LED light but the studio light as well so there was a lot of adjusting. To get the blue tone with the LED, I had to adjust the RGB to 238 degrees at full saturation with the brightness at around 80%. This whole lighting process took about an hour and a half to figure out.
This is a picture of me setting up the background portion of the project. I did this last as it was the quickest and definitely easiest part during my process. I bought little butterfly cutouts at Dollar Tree awhile back and finally got to utilize them as the background. I sorted them out onto a cloth that I bought from Walmart and started photographing away. I also ended up using one studio light again along with the LED light.