DNA
Hello everyone, welcome to my week three blog post called DNA! This week I had a very hard time figuring out what to photograph as I had a major creative block like every artist has from time to time. But I searched and finally got my creative groove again. Before scrolling down, study the image and try to guess how I created it as a little challenge for you.
Kaila Hicks, DNA, 2021
THE SET-UP
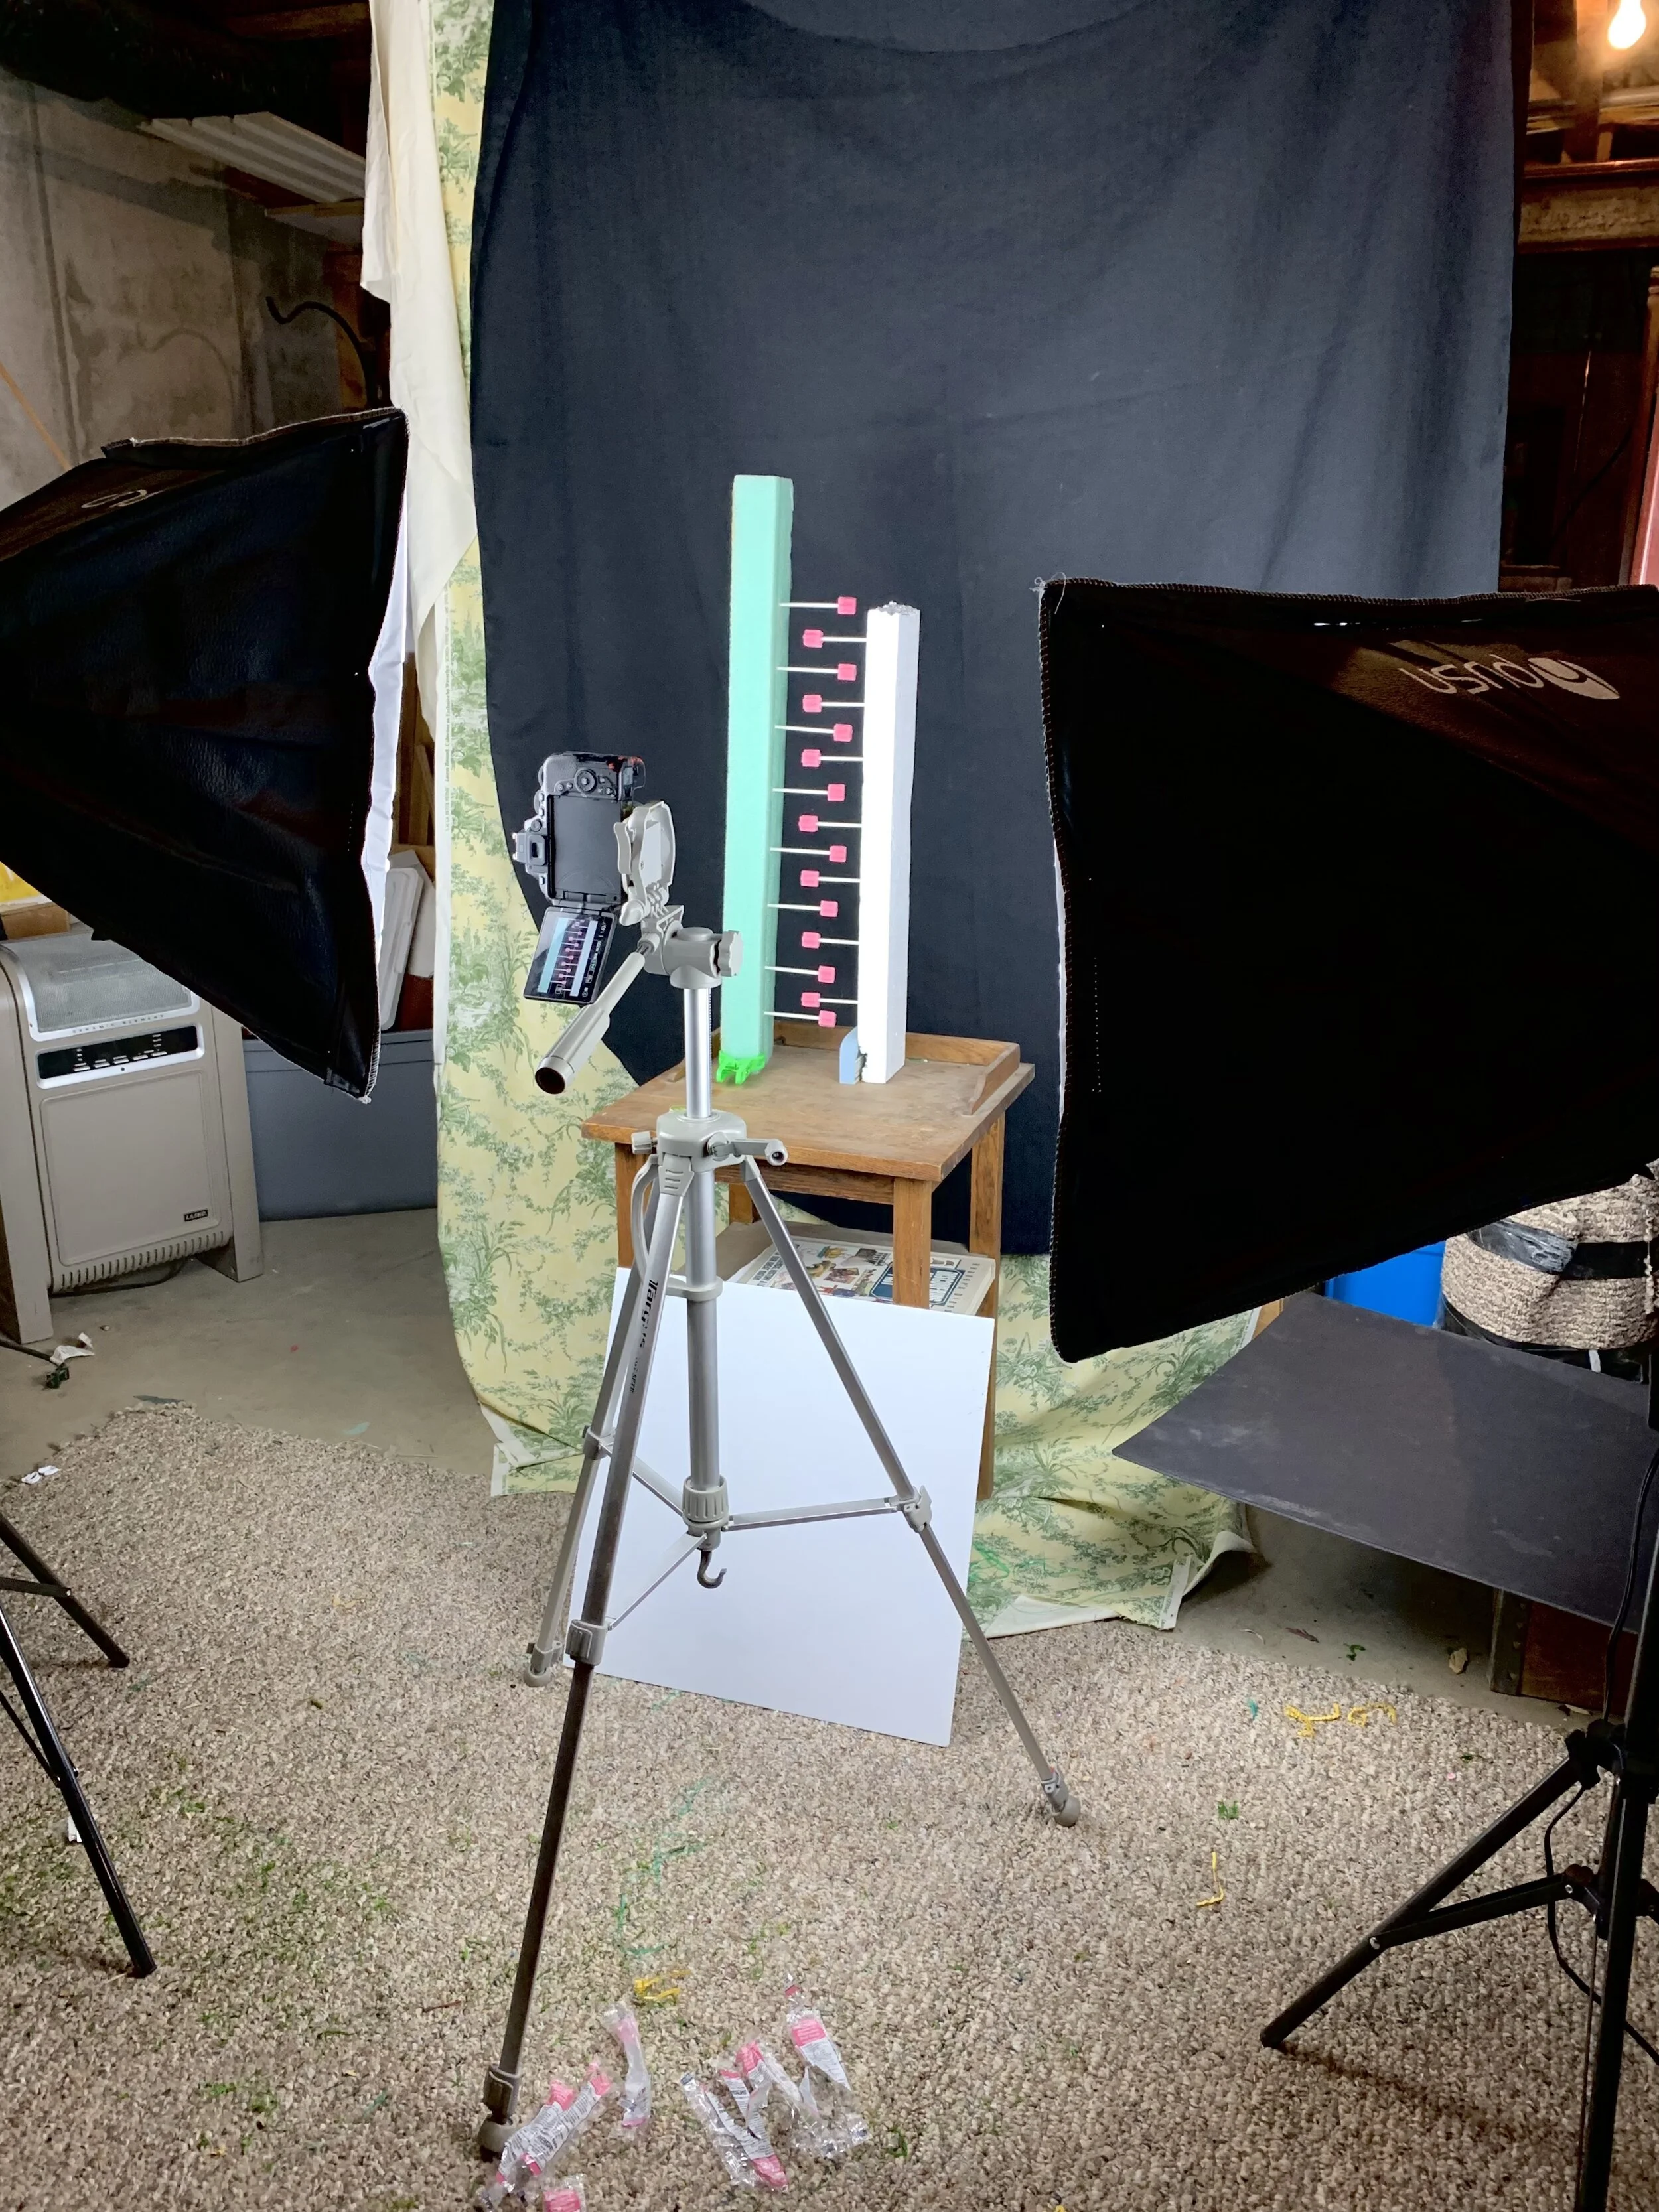
Here is the set-up that I created for DNA! If you didn’t guess it already, the little sticks with pink blocks on the ends are actually star-shaped sponge stamps. I found so many of them in my basement and decided to create an interesting contraption out of them.
I scrounged up two styrofoam pieces in my basement that I stuck the sponge stamps into to create something photogenic. The styrofoam pieces really didn’t want to stand up on their own so I had to put a clip on one and a wooden block against the other to stabilize them.
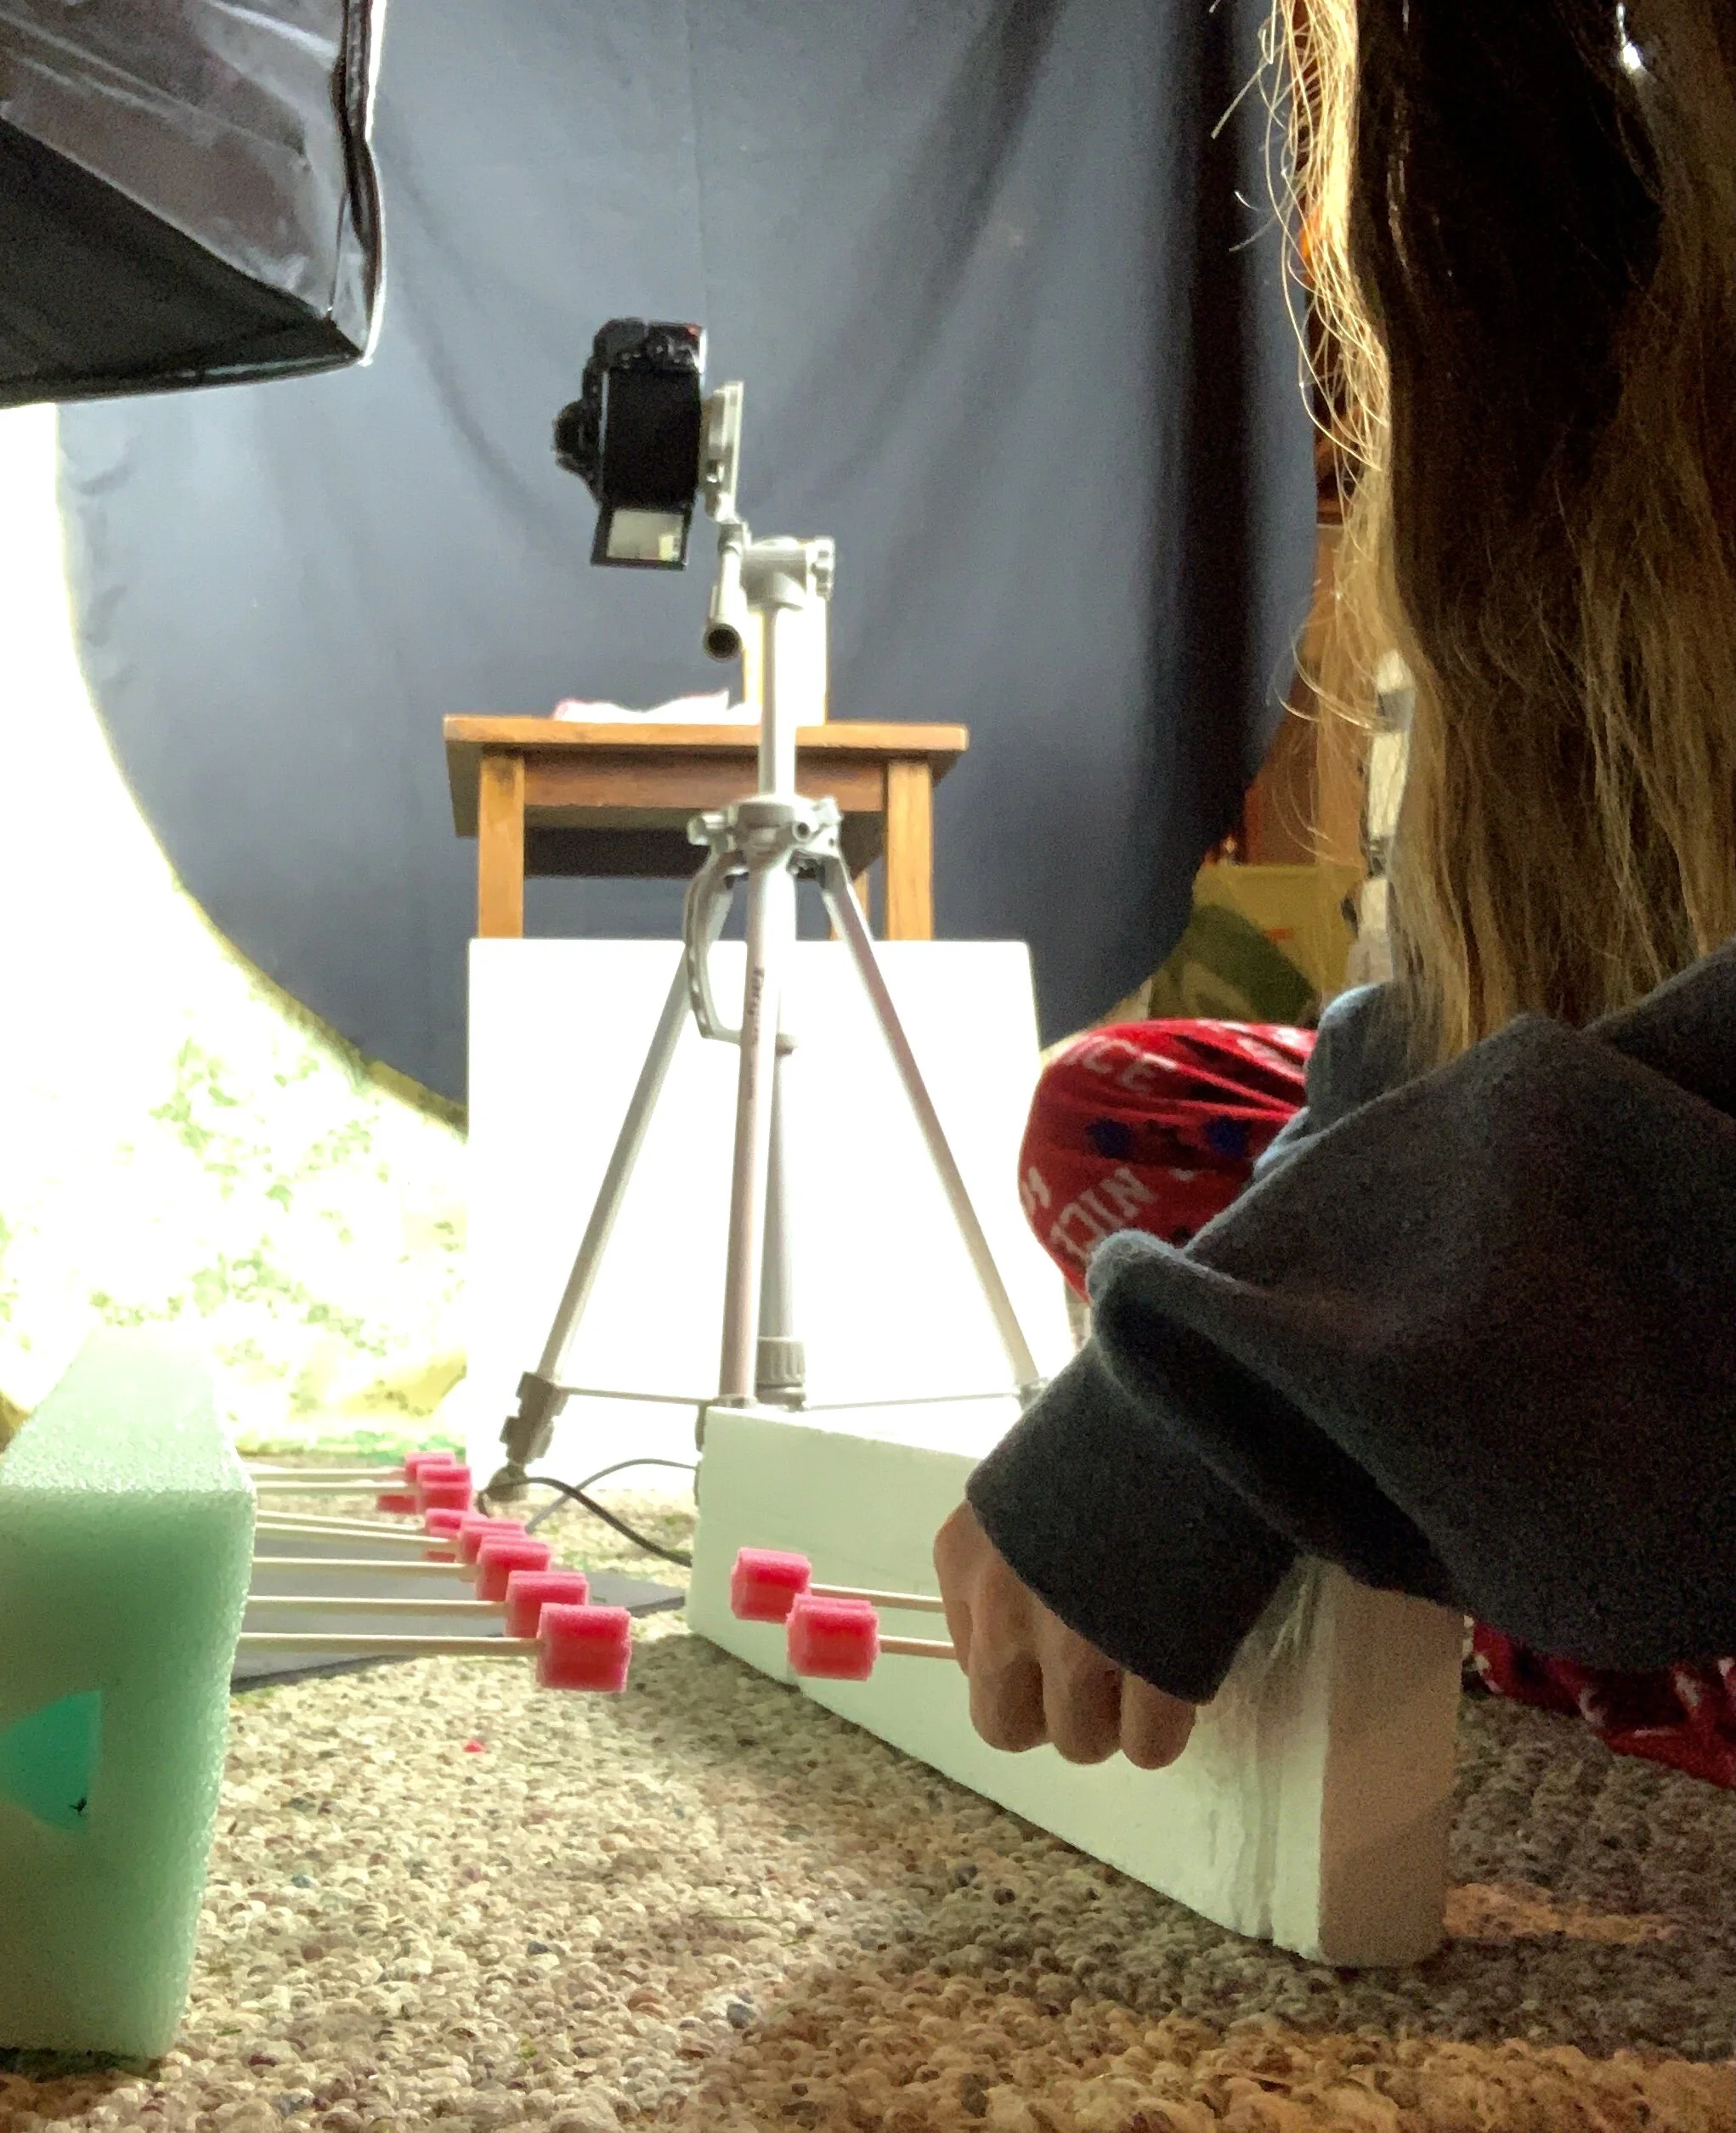
In this picture, you can see how I stuck the sponge stamps into the styrofoam pieces. I didn’t measure out where to stick them, I just did my best to make sure they were even. This was difficult to do as some of the sticks did not want to cooperate and stay straight.
EDITING
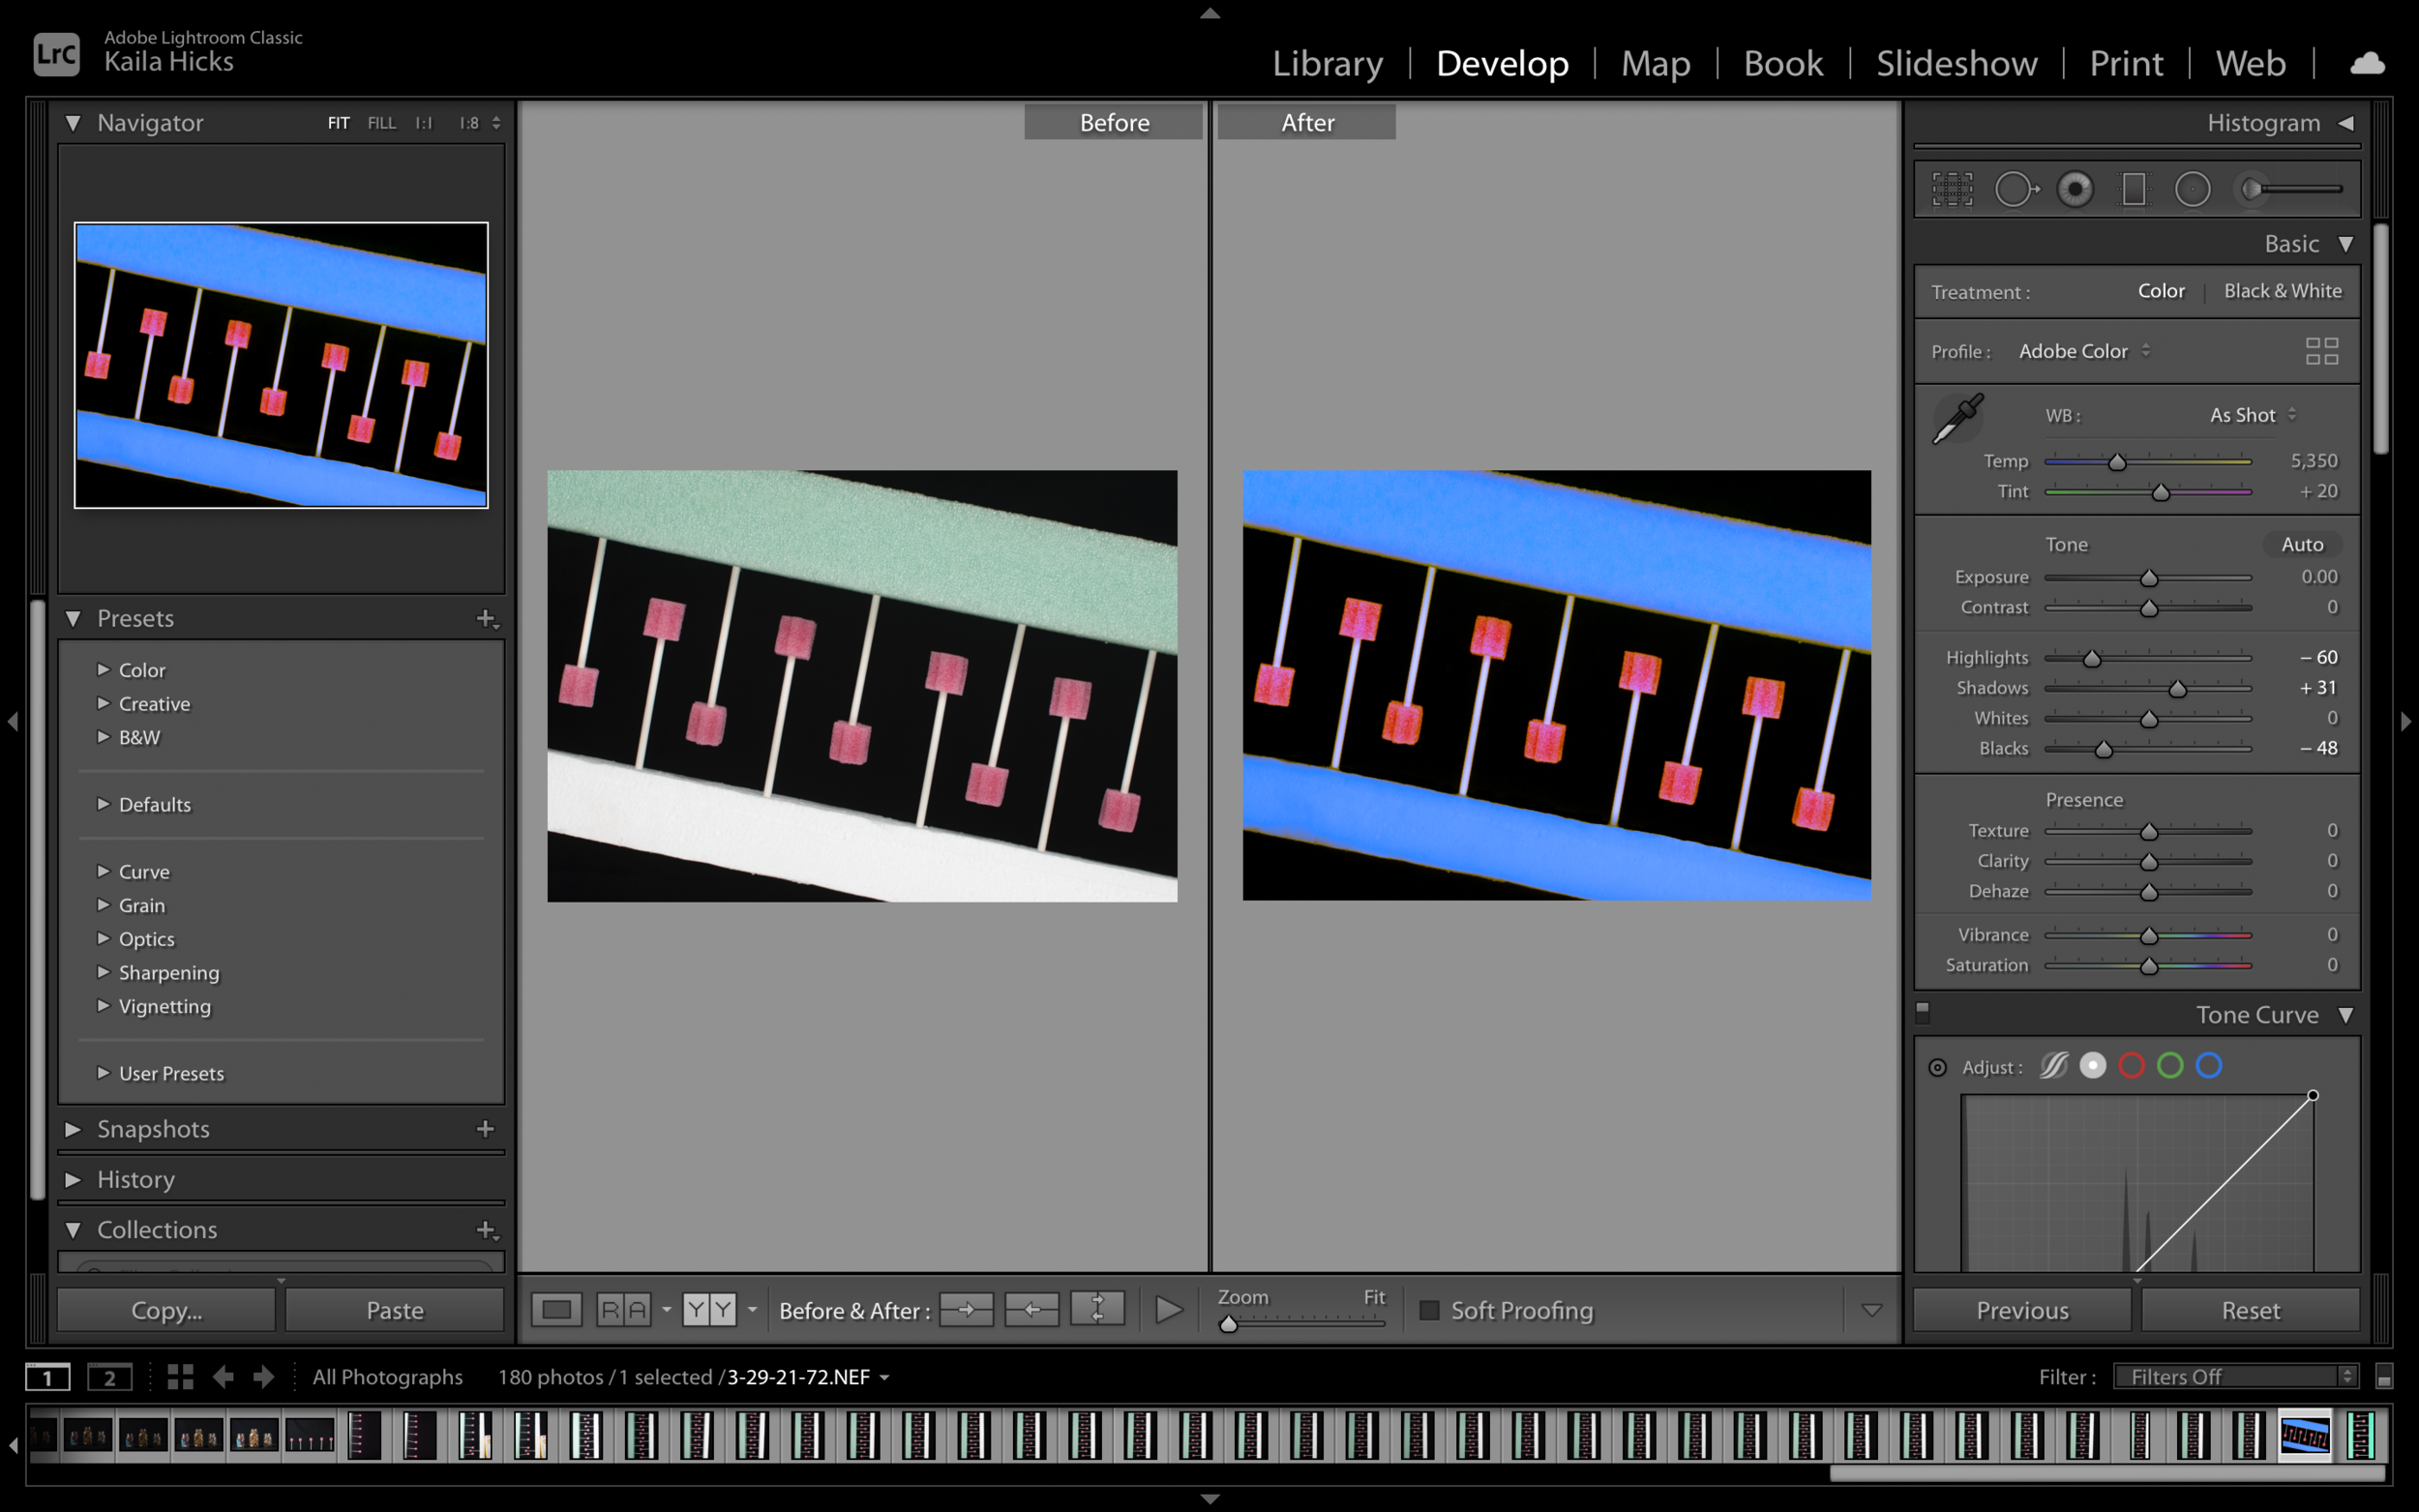
DNA before and after